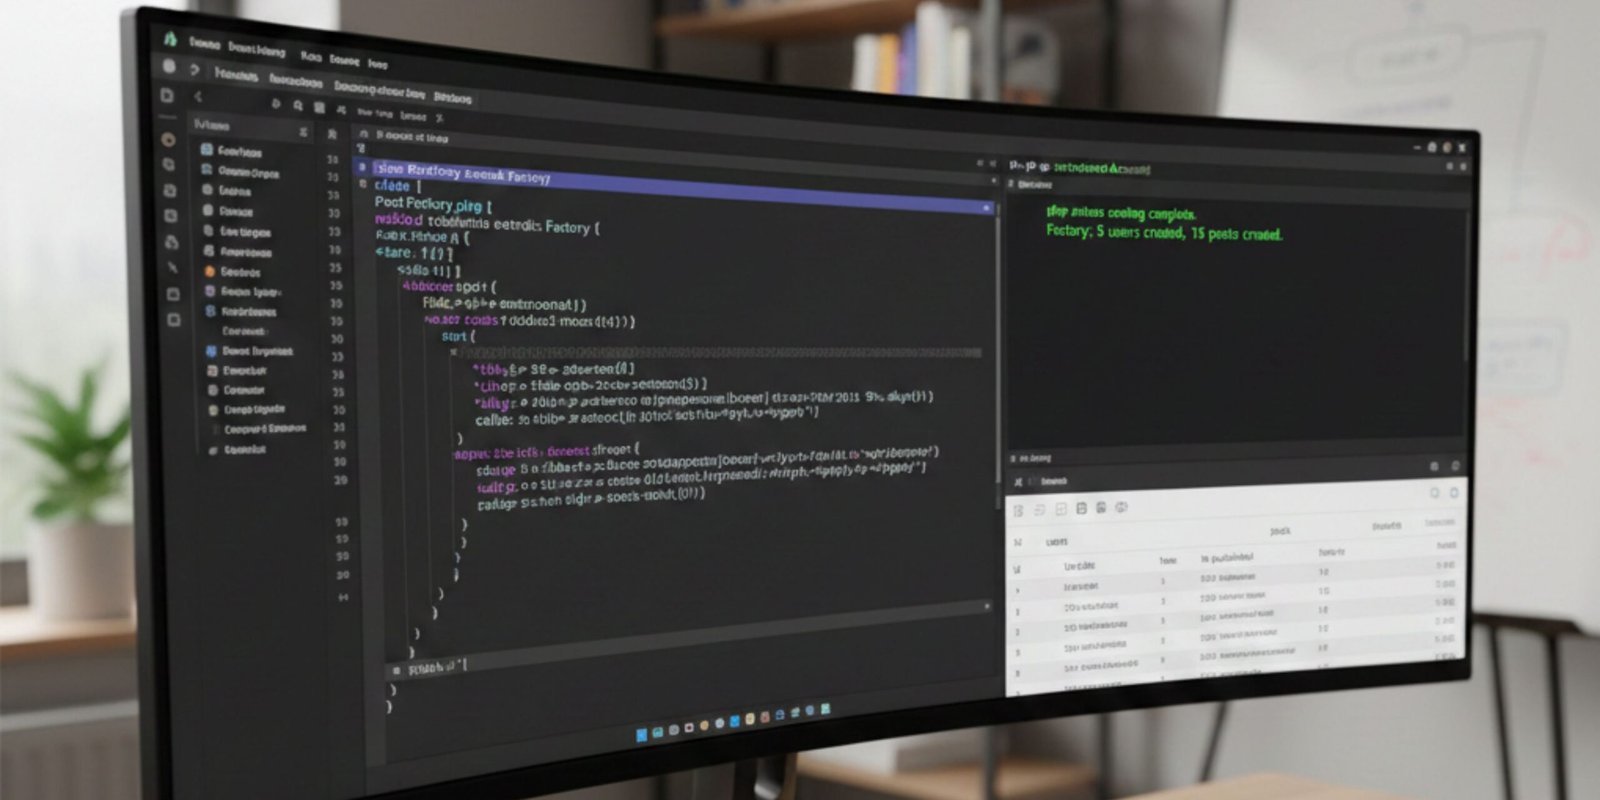
Every developer knows the struggle. You’ve just built a sleek new user interface, designed a robust database schema, and set up your API endpoints. You are ready to test the application, but you hit a wall: the database is empty.
To see if your pagination works, you need 50 users. To test your analytics dashboard, you need 1,000 orders. To verify your layout’s responsiveness, you need blog posts with varying text lengths.
Do you manually type “Test User 1”, “Test User 2” into your database management tool? Absolutely not. That is the slow, painful path to developer burnout.
The professional solution is Database Seeding with Factories.
In this guide, we will explore how to automate the generation of massive amounts of realistic dummy data. We will cover the concepts, the implementation, and advanced techniques to simulate real-world scenarios.
Why You Need Automated Seeding
Before diving into the code, it is essential to understand why we prioritize this workflow. “Seeding” is the process of populating a database with an initial set of data. When combined with “Factories” (blueprints for data generation) and a library like Faker, you unlock several superpowers:
- UI Stress Testing: You can’t know if your table layout breaks until you put a 200-character name or a 5,000-word article into it.
- Performance Optimization: Queries that run fast with 10 rows often crawl with 10,000. Seeding allows you to spot N+1 query problems and indexing issues early.
- Consistent Team Environments: If you work in a team, every developer needs the same baseline data. A seeder file ensures that when a new dev runs the project, they have a fully populated, working application instantly.
The Core Concepts: Models, Factories, and Seeders
To seed effectively, you need to understand the relationship between three key components in modern MVC frameworks (specifically Laravel):
-
The Model: Represents the table in your database (e.g.,
User,Post,Product). - The Factory: A blueprint that defines how to generate a single instance of that model. It maps database columns to fake data generators.
- The Seeder: The command center. It tells the application how many instances to create and in what order to execute them.
Think of it like a car manufacturing plant. The Model is the car. The Factory is the assembly line machinery that knows how to build one car. The Seeder is the manager who says, “Turn on the machines and give me 500 cars right now.”
Step 1: Preparation and Setup
We assume you have a basic Laravel installation running. First, ensure you have a model and a migration ready. Let’s build a classic example: a Blog System with Authors (Users) and Posts.
First, create the model and migration:
Bash
php artisan make:model Post -m
In your migration file, define the structure. We want our posts to have a title, a slug, an excerpt, a body, a status (published/draft), and a foreign key linking to a user.
PHP
Schema::create('posts', function (Blueprint $table) {
    $table->id();
    $table->foreignId('user_id')->constrained();
    $table->string('title');
    $table->string('slug')->unique();
    $table->text('excerpt');
    $table->longText('body');
    $table->boolean('is_published')->default(false);
    $table->timestamps();
});
Run the migration (php artisan migrate) to create the table. Now we have an empty table waiting for data.
Step 2: Creating the Factory
This is where the magic happens. We need to create a Factory file for our Post model.
Run the following command:
Bash
php artisan make:factory PostFactory
This creates a file in database/factories/PostFactory.php. Inside, you will find a definition() method. This method returns an array where the keys match your database columns, and the values are the fake data generated by the Faker library (which comes pre-installed with Laravel).
Here is how we define a realistic Post Factory:
PHP
namespace Database\Factories;

use Illuminate\Database\Eloquent\Factories\Factory;
use Illuminate\Support\Str;
use App\Models\User;

class PostFactory extends Factory
{
    public function definition(): array
    {
        $title = fake()->sentence(6); // Generate a 6-word sentence

        return [
            // Create a user on the fly if one isn't provided
            'user_id' => User::factory(),

            'title' => $title,

            // Create a URL-friendly slug from the title
            'slug' => Str::slug($title),

            // Generate a fake paragraph for the excerpt
            'excerpt' => fake()->paragraph(2),

            // Generate distinct HTML paragraphs for the body
            'body' => collect(fake()->paragraphs(5))
                        ->map(fn($p) => "<p>$p</p>")
                        ->implode(''),

            // Randomly decide if it's published
            'is_published' => fake()->boolean(70), // 70% chance of being true

            // Generate a date within the last year
            'created_at' => fake()->dateTimeBetween('-1 year', 'now'),
        ];
    }
}
Understanding the Faker Library
Notice the fake() helper? This gives you access to a library that can generate almost anything.
-
fake()->name(): “John Doe” -
fake()->email(): “jdoe@example.com” -
fake()->realText(200): Generates text that looks like real English sentences (Alice in Wonderland text), unlike standard Lorem Ipsum. -
fake()->imageUrl(): Generates a placeholder image URL.
Step 3: Utilizing the Seeder
Now that the factory knows how to build a post, we need to tell the database to actually do it. We use the DatabaseSeeder class located in database/seeders/DatabaseSeeder.php.
Basic Seeding
To create 10 simple posts, you would modify the run() method like this:
PHP
use App\Models\Post;

public function run(): void
{
    Post::factory(10)->create();
}
However, remember our user_id column? In the factory definition above, we set 'user_id' => User::factory(). If you run the code above, Laravel will create 10 posts and 10 new users (one for each post).
Relationship Seeding (The “One-to-Many” Scenario)
In the real world, a single author usually writes multiple posts. We don’t want 10 users for 10 posts; we want perhaps 3 users who have written those 10 posts collectively.
We can control this structure using “Magic Methods” in the seeder:
PHP
use App\Models\User;
use App\Models\Post;

public function run(): void
{
    // Create 5 specific users
    // Each user will have exactly 3 posts associated with them
    User::factory(5)
        ->has(Post::factory()->count(3))
        ->create();
}
This is incredibly powerful. With one command, you are populating two tables (users and posts) and ensuring the foreign keys (user_id) are perfectly linked.
Step 4: Running the Seeder
You have defined the blueprint (Factory) and the execution plan (Seeder). Now, hit the switch.
Open your terminal and run:
Bash
php artisan db:seed
If you made changes to your database schema and want to wipe everything clean and start fresh (common during early development), use:
Bash
php artisan migrate:fresh --seed
Warning: migrate:fresh drops all tables. Never run this on a production server!
Advanced Factory Techniques
To truly master seeding, you need to move beyond simple random data. Real applications have “States” and specific scenarios that need testing.
1. Factory States
Sometimes you need specific data for a test. For example, you might want to test how your UI handles “Draft” posts specifically. Instead of hoping fake()->boolean() gives you a false value, you can define a State.
Inside your PostFactory.php, add this method:
PHP
public function draft()
{
    return $this->state(function (array $attributes) {
        return [
            'is_published' => false,
        ];
    });
}
Now, in your seeder or tests, you can specifically request drafts:
PHP
Post::factory()->count(5)->draft()->create();
2. Sequence Generation
What if you need data to follow a specific pattern? For example, you might want to test user roles, ensuring you have exactly one Admin and multiple Moderators.
You can use the sequence method to alternate data:
PHP
use Illuminate\Database\Eloquent\Factories\Sequence;

User::factory()
    ->count(10)
    ->state(new Sequence(
        ['role' => 'admin'],
        ['role' => 'moderator'],
        ['role' => 'subscriber'],
    ))
    ->create();
This will cycle through the roles: Admin, Moderator, Subscriber, Admin, Moderator, Subscriber… ensuring a perfect distribution of test data.
3. Creating Dummy Images
If your application handles file uploads or profile pictures, database text isn’t enough. Faker can help here, but keep in mind that downloading images during seeding can be slow.
PHP
'avatar' => fake()->imageUrl(640, 480, 'people', true),
This generates a URL to a placeholder image service. When your frontend loads, it will display a real image.
Best Practices for Database Seeding
As you integrate this workflow into your daily life, keep these best practices in mind to maintain a clean architecture.
1. Keep Production in Mind
Seeders are usually for development. However, sometimes you need “System Data” in production (e.g., a list of Countries, default Roles, or Currencies).
Split your seeders. Create a CurrencySeeder for static data that must exist in production, and a FakeDataSeeder for dummy data. You can call them conditionally in your main DatabaseSeeder:
PHP
public function run()
{
    $this->call(CurrencySeeder::class); // Always run
    $this->call(RoleSeeder::class);     // Always run

    if (app()->environment('local')) {
        $this->call(UserSeeder::class); // Only for devs
    }
}
2. Don’t Over-complicate Factories
Factories should provide a default valid state. If you have complex validation rules, don’t try to cover every edge case in the default definition. Use States (as shown above) to handle edge cases like “banned users” or “overdue invoices.”
3. Use create() vs make()
-
User::factory()->create()inserts data into the database. This is slow but necessary for integration testing. -
User::factory()->make()creates the model instance in memory but does not save it to the database. If you are just testing a logic calculation inside a model and don’t need persistence, usemake()to speed up your tests significantly.
Conclusion
Seeding your database using Factories is not just a “nice-to-have” feature; it is a hallmark of a mature development workflow. It frees you from the drudgery of manual data entry, exposes bugs that only appear with large datasets, and ensures every developer on your team is working with a consistent environment.
By mastering Model Factories, States, and Relationship seeding, you transform your empty database into a vibrant, realistic playground. This allows you to focus on what really matters: building features, fixing bugs, and shipping code.
So, delete those manual SQL insert scripts. It’s time to let the robots do the typing.
Leave a Reply